Materials
- Light dependent resistor (LDR)
- 1k resistor
- PNP transistor
- 3 volt battery
- Bright LED
- Marker or other enclosure
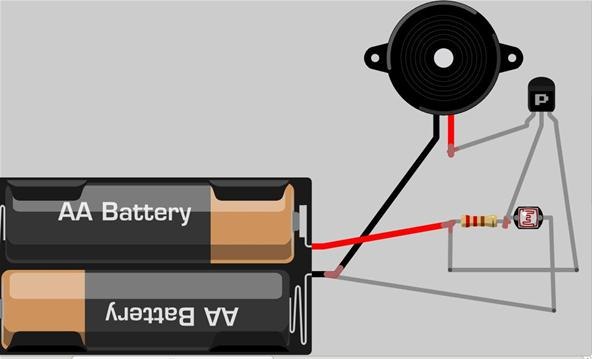
Step 1 Trusty Circuit
Regular readers will be familiar with our simple light-detecting circuit. It's a three component circuit that allows current to flow through it when light is present. We'll be putting this circuit into the device we wish to automate. This can work in your vehicle, computer, electric door lock, etc.
I chose to viciously decapitate an annoying educational stuffed frog for two reasons. First, I have already sacrificed my guinea pig computer in the stir plate project. Second, this very loud and maniacally happy frog is known to turn itself on in the basement and recite the alphabet song for hours on end. After a quick jack the ripper on the neck fabric, I've got myself an awesomely creepy frog head. I drilled a hole in each eye and mounted a red LED in each to give it that all important hypnotoad feel.
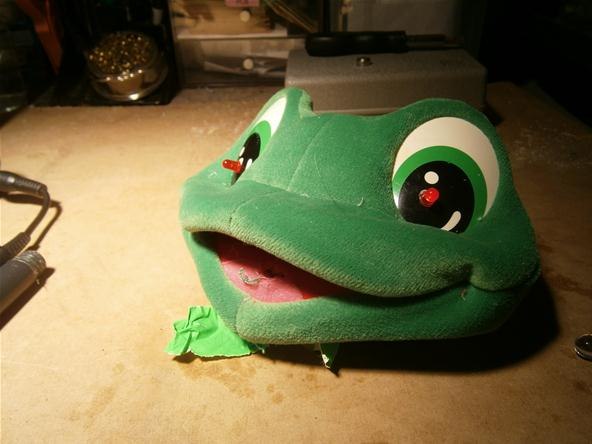
Death to the frog bourgeoisie.

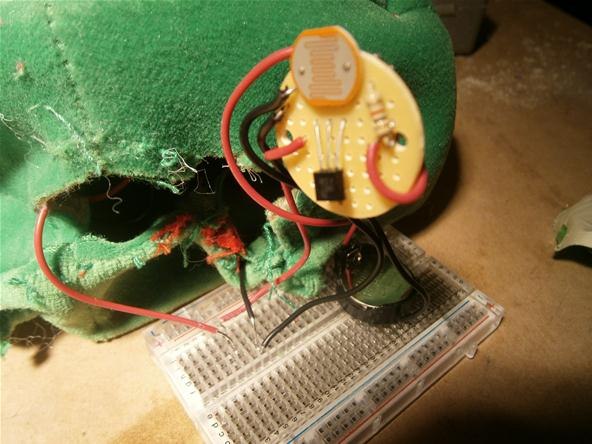
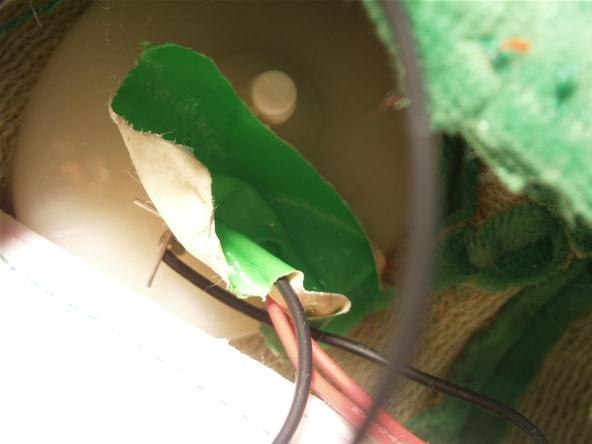
The stuffed frog face is large enough that we can just make our circuit on a breadboard and place it inside the fabric.
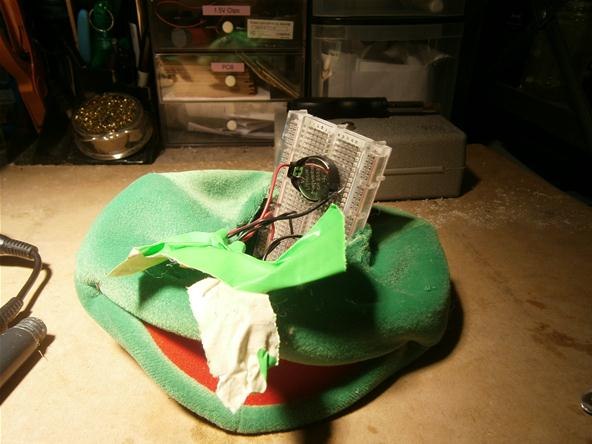
I removed the light detecting circuit from the bubble blowing alarm clock and plugged it into the frog head breadboard.
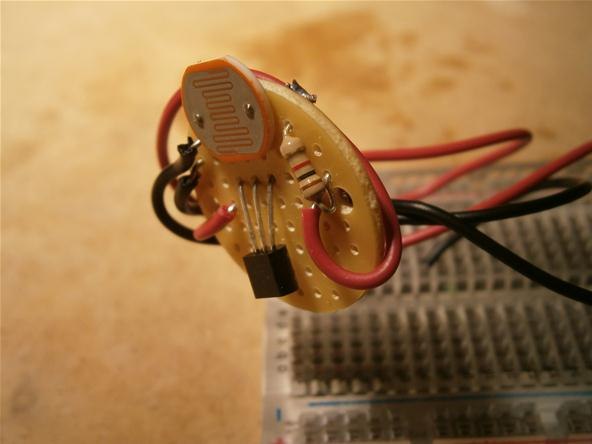
You could make this circuit on the breadboard just as easily. If you do, be sure to solder some long wires to the LDR light sensor so you can position it where the light will hit it and activate the LEDs.
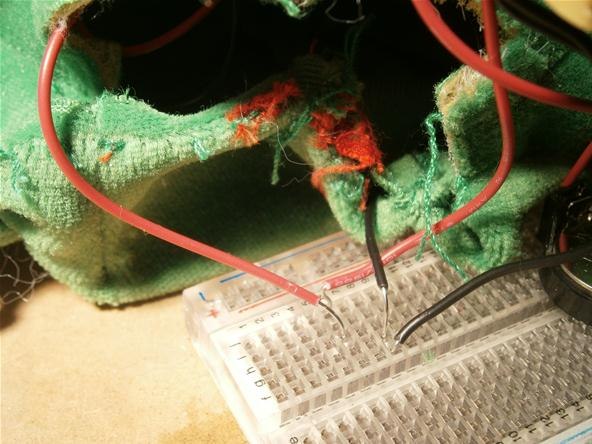
A red and a black wire go into the frog skull to connect to the positive and negative LED leads.
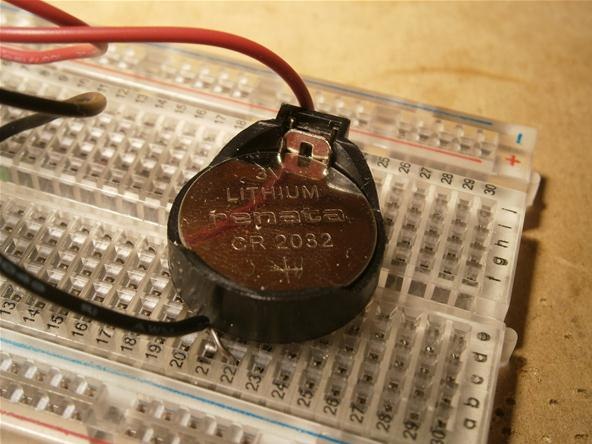
I used a 3 volt battery because I can run 2 LEDs on 3 volts with no need for a protective resistor. If you are modifying your computer, you can just connect to either side of the main power switch.
I just twisted the wires together to connect the eye LEDs. One black wire connects the negative LED leads together and another connects them to the breadboard. One red wire connects the positive LED leads together and another connects them to the breadboard.
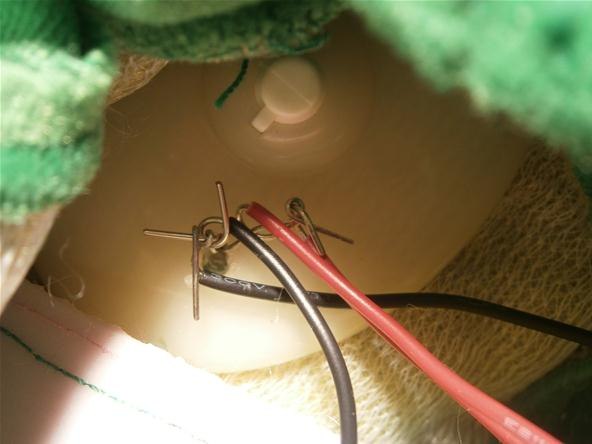
A small piece of duct tape can keep those twisted wires in place.
Step 2 Making the Sonic
You can make a sonic screwdriver however you want. The real Doctor Who has had a million different versions and yours will be no less authentic. After all, who's to say your sonic isn't a future version of this time traveler's tool?
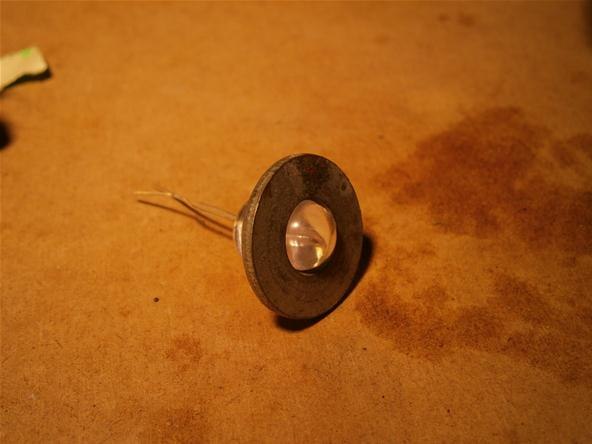
Because our circuit is activated by light, we need to make a sonic screwdriver with a tiny but powerful flashlight. I had these super bright oversized yellow LEDs lying around. To start, I wedged the LED into a washer.
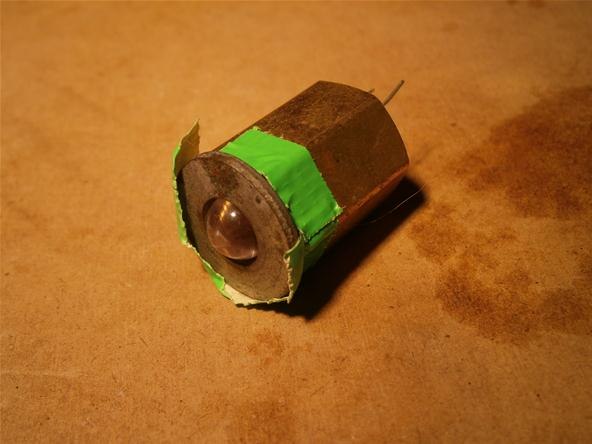
Next, I duct taped the washer onto the end of a brass hex nut.
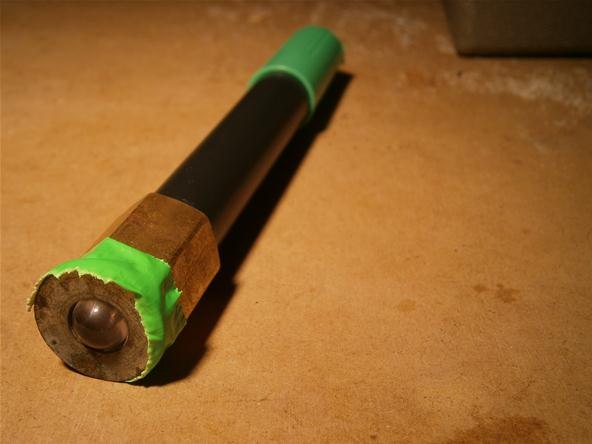
Shove the hex nut on the end of a marker and bam, you have a decent looking sonic screwdriver for pennies! To activate the LED, I simply taped a coin cell battery between the LED leads like an LED throwie.
Now just bring your "sonic" flashlight to the light sensor and watch your hypnotoad activate!
Hypnotoad only turns on while the screwdriver is present, but a computer can be turned on normally with this setup. In a computer, the power button only needs to be held for a second to turn the entire system on permanently. As it turns out, the voice circuit inside the frog also works in this way, but dear freaking science, I never want to hear that frog's voice ever again.

As always, any questions can be asked in the comments below, on theforum, or by messaging me directly.
Don't forget! We are currently accepting entries into our photo contest for a chance to win your very own lucid dreaming goggles kit! Just post a picture on the corkboard of a project you have made or are currently working on.


No comments:
Post a Comment